We all know how much of a tedious task it can be to set up WooCommerce on a website. Installing it, adding address information, including extra plugins for payment gateway integration, shipping methods, then creating a product page. Moreover, having the customer go through three steps to sign up on your website that includes going to the product page, cart page, and then the checkout page!
But don’t worry, we have a solution here: the WPForms plugin, as well as Authorize.NET, can be integrated together to have a seamless credit card payment experience on your website.
Table of Contents
Why use WPForms?
Using WPForms has a number of benefits that includes:
- Easy to set up
- Conditional Logic in forms (show specific fields depending upon selection of some other field)
- Easy to integrate with payment gateway like Authorize.NET
- Multi-step forms
- No hassle of setting up cart, checkout etc pages if you want to sell just one thing and take payment
And along with all this if you are using Authorize.NET with WPForms then you get the following benefits too:
- Selling products even with recurring payments
- It accepts all the major cards online
- Works on all devices
- Has advanced fraud detection
How simple is it to set up WPForms & Authorize.NET?
It’s a step-by-step process that makes it a lot easier to make your website ready to sell.
Below are the steps that can be followed to have it working on your website:
- Sign up for an Authorize.NET merchant account
- Install the WPForms premium plugin and the Authorize.NET addon (Note: You can also get the addon if you purchase the elite license of WPForms.)
- Set up Authorize.NET addon with WPForms. You can read more about it here: Install and Use the Authorize.Net Addon with WPForms.
- Add a new form to WPForms.
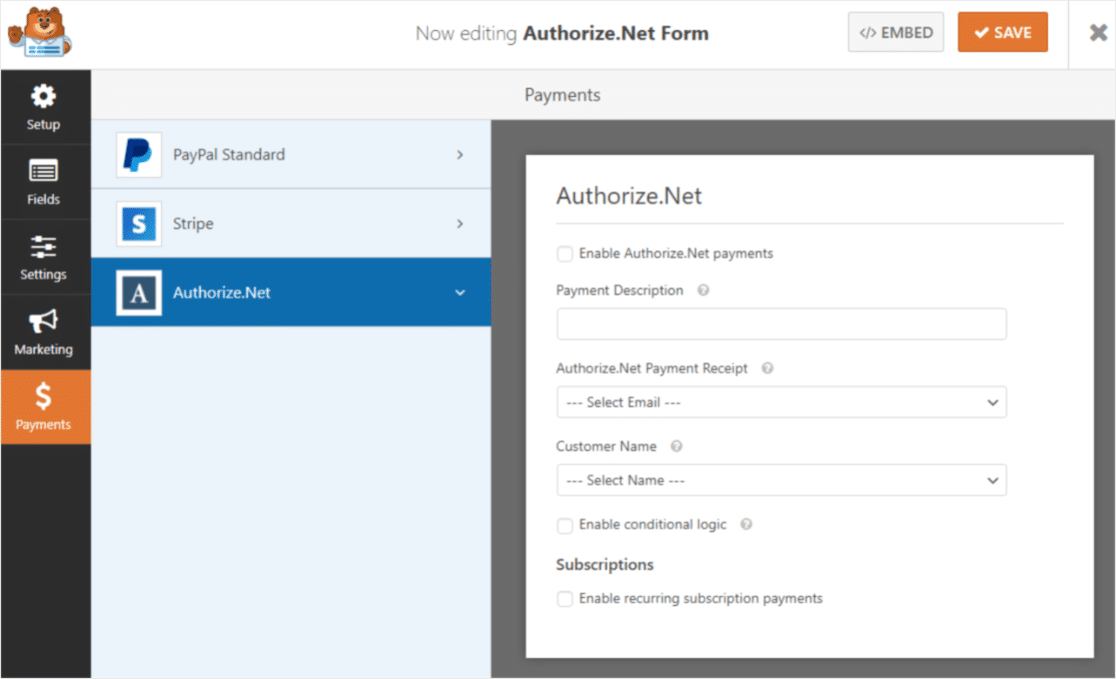
- Head to the payments tab while editing a form to enable Authorize.NET for the form.
- That’s all!
Connecting Authorize.NET with WPForms
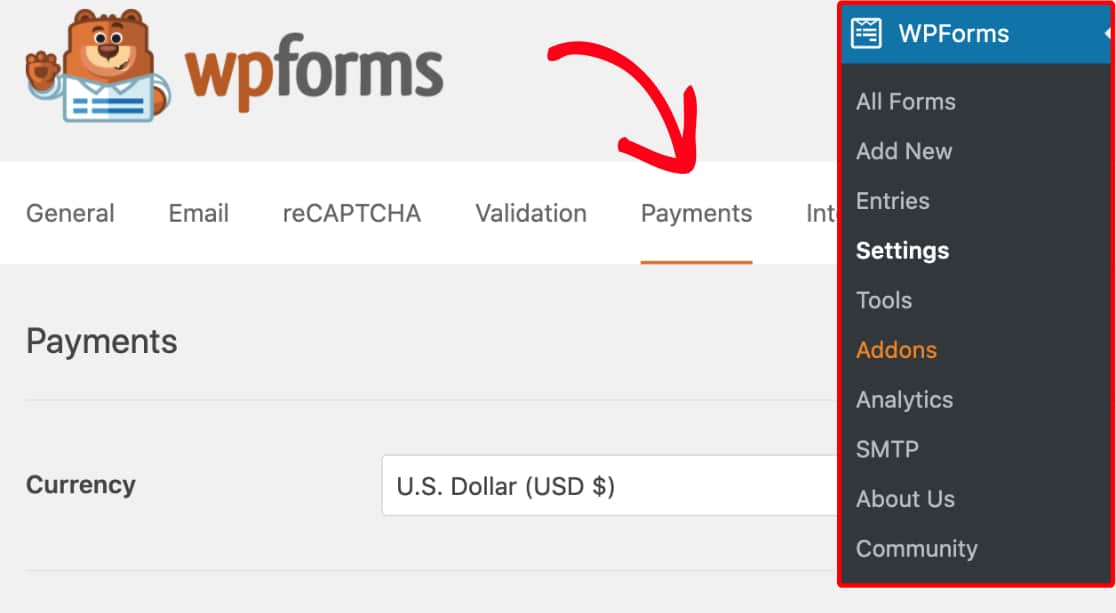
To connect Authorize.NET with WPForms, you have to first install and activate the addon and WPForms. Then go to WPForms > Settings and there select the “Payments” tab.
If you want to change the currency then first select the currency you want from the dropdown.
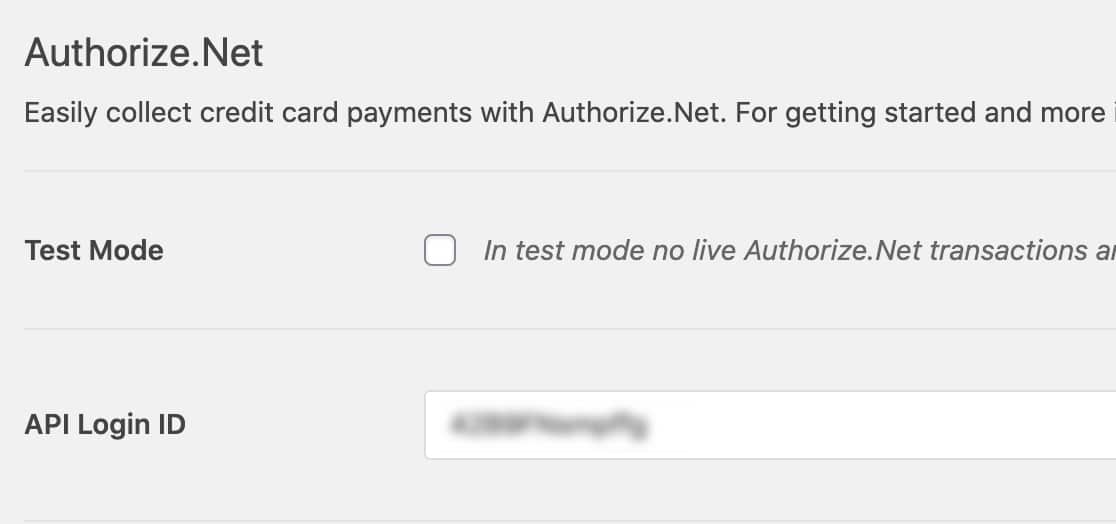
After doing that, scroll to the section below saying “Authorize.NET”
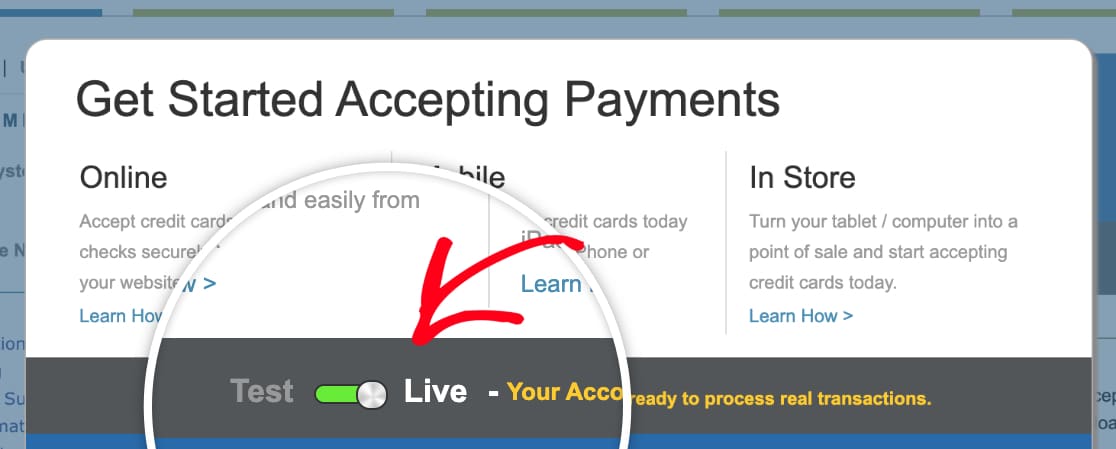
Here you have to add the API Login ID and Transaction Key. To get this information, first sign in to your Authorize.NET account. After logging in make sure this toggle is set to “Live”:
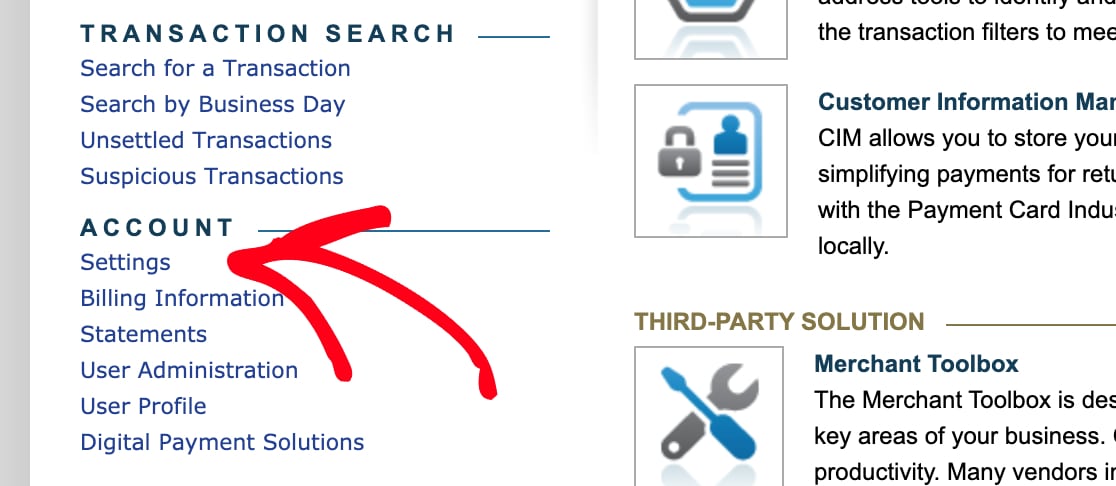
Now, to get the keys select “Settings” from the left sidebar.
and then go to the API Credentials and Keys.
From here you can copy the “API Login ID”
You can copy this key from here and paste it in your WPForms settings in the first field, which we discussed earlier.
Now on the same API Key page in your Authorize.NET account, look for a section called “Create New Key(s)” and here for the “Obtain” option select “New Transaction Key” and click Submit.
After this you will see a pop-up, click on “Request Pin” in the popup to get a pin and complete the verification.
This will give you a transaction key then:
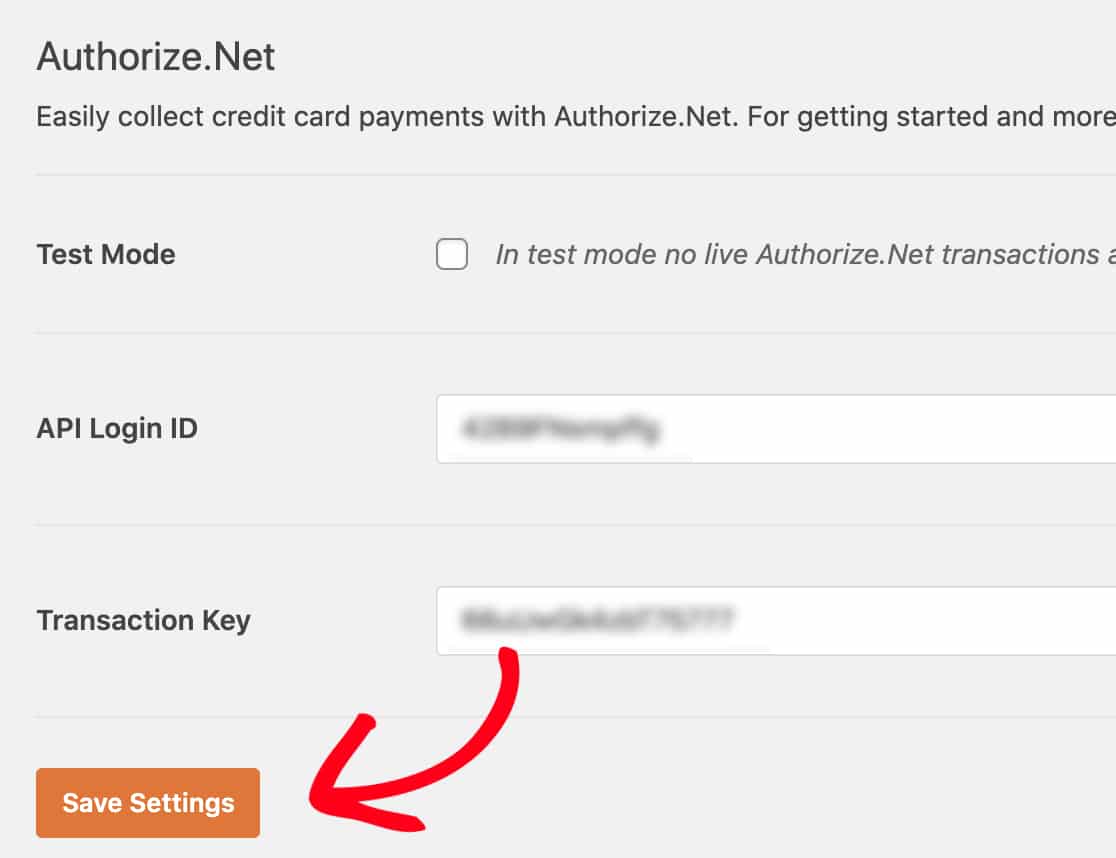
Copy and paste this key in your WPForms settings and click Save Settings.
That’s all. The next step is to add it to your form, which is si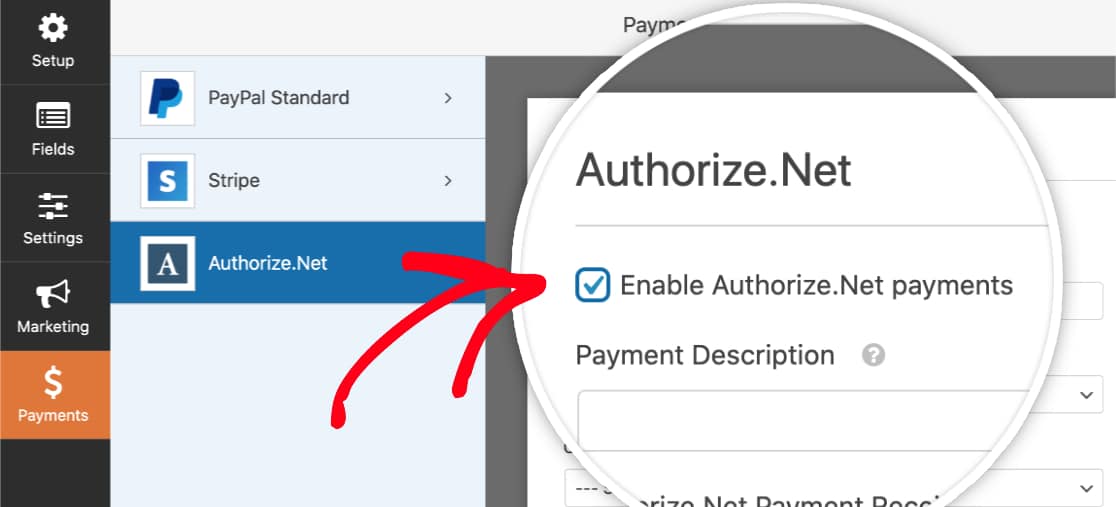
In Conclusion
I have always personally preferred and used WPForms as it’s a very powerful form creation tool in WordPress. Besides Authorize.NET it can also be very easily integrated with many other services. Below are some of my other posts related to WPForms that can help you make complete use of it.
Click here to learn more about the pricing of WPForms.
If you have any questions, let me know in the comments below and also what thing you need help with next, I would love to write more!

